When your lawn grass takes a lot of beating after so many years, it may start thinning. This leaves you with bald patches of brown dry grass. At this point, you may have to lay sod as a quick remedy. So can you over your existing grass?
Although laying sod is a faster and easier route to instant lawn, laying sod over the existing can kill your new sod or place it at the risk of slow growth.
Laying sod over new bare ground takes a lot of muscle but you can almost be guaranteed that the grass will do better than when it is on existing turf.
Sodding can either be done through DIY, following our simple and easy steps. But it can also be done by lawn professionals who know how to do the job paying attention to detail and precision.
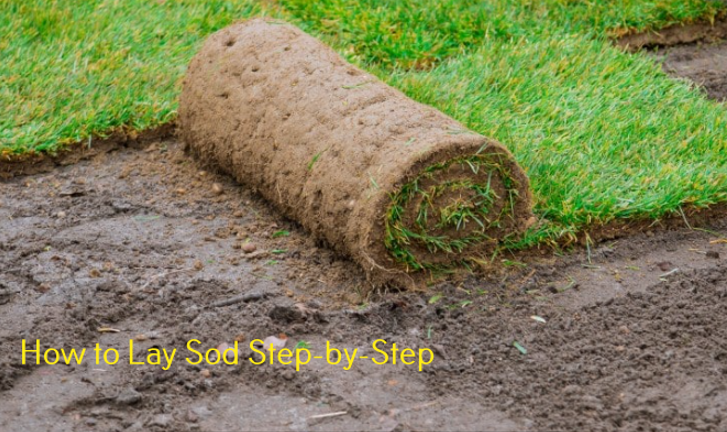
How to Lay Sod the Right Way
Soil preparation is required for sodding over new bare ground only. This step is very important because it helps get rid of the underlying issues that caused the death of the previous grass.
It also helps provide the root system of the new grass with the proper ground for enhanced root development. By now I assume that you have already gotten rid of the old dead grass so we can now head straight to the process of soil preparation.
1. Collect all the debris
Another possible cause for the death of your previous lawn grass could have been too much thatch or debris. With this in mind, you will want to lay your new grass turf on clean ground, free of any debris or material that may hinder its proper growth.
Have a plastic bag to put all the debris which includes rocks, branches, roots, and clippings that did not decompose fully. If the debris is firmly stuck into the ground, consider a metallic rake to shake it off.
2. Rake up all the weeds
Moss and weeds such as dandelion compete with grass for the little nutrients available in the soil, causing its death. And because you do not want this scenario repeating itself with the new turf, carefully remove all the weeds one by one.
As you remove the weeds, ensure to pluck them from the roots so that they do not return in your new lawn. Some people might be tempted to kill them with chemical herbicides but this may end up raising soil pH.
3. Level up the ground
Laying your new sod besides an existing lawn without leveling the ground could leave you with raised sections over the others. After all, you do not want the new grass turf climbing onto your sidewalk or walkways.
While doing the leveling, raise the ground next to sidewalks and walkways a little. Slope the ground away from the house to prevent your house from getting damage by groundwater.
4. Till the lawn
Tilling the land helps in harmonizing the foundation and the topsoil, hence providing the new grass turf with a solid root system. If the lawn is just a few feet, you can use the manual tiller but for a lawn with a couple of square footage, you can use the engine powered rototiller.
Contrary to the manual one, this one should be easier to use because you do not use so much energy.
5. Apply fertilizer
After the ground is leveled up, now it is time to apply the fertilizer. Uniform distribution of the fertilizer on the lawn is important because the opposite would result in thinner grass in some spots.
You can achieve this uniform distribution with an engine-powered spreader. For effective outcome use either organic or compost fertilizer on your lawn.
6. Water the soil
Using your sprinkler, water the ground for a few minutes until the fertilizer dissolves. Watering helps the fertilizer dissolve faster before it evaporates under the heat. It also prevents the fertilizer from being blown over by the wind.
If this happened, you would end up with some spots with too much fertilizer than others, hence nullifying the need for uniform distribution of the fertilizer.
Having done that let the ground sit for around a week to allow the fertilizer and the soil to harmonize. It is during this period that the lumps in the soil break down.
7. Rake the land again
After the 1 week is over, the soil has already started to compact again. In its current condition, the roots of the new grass would have to overwork to penetrate, something that may never happen.
To give the roots of the new grass an easy time growing, the land needs to be raked again to shake it off a little.
8. Laying the Sod
Begin by watering your lawn lightly, not less than 24hrs before laying the sod. Then start laying the sod from the straight edges to the center of the prepared part of the lawn.
Use a utility knife to cut the excess part that runs over the older turf. Repeat this process until all the prepared part is covered with the new sod.
Use the small cut pieces of sod to all bare surfaces of the lawn. Fill all the seams with fresh topsoil from a different location. You could also use the topsoil you dug out from the section prepared for the new sod.
Water the section where you laid your new sod and ensure to keep it as light as possible. Then use a lawn roller to compact the new sod onto the ground then sit back and enjoy your lush green lawn.
Pro Tip: To get a thick green lawn quickly, plant a grass species suitable for your regional conditions. Further install the sods during spring when growing conditions are favorable.
Do I need to rototill before laying sod?
Rototilling is the process of tilling the lawn soil using an engine powered tiller. The process is used to break down the compacted soils, making them friendly for the proper growth of lawn grass.
It is also used to break down thatch that would otherwise prevent the grassroots from spreading deep and wide.
But the most important purpose of rototilling is to harmonize the top and foundation soils, something that works by aerating the soil and bringing nutrients closer to the grassroots.
So yes, you need to rototill your lawn before laying the sod; you will be rectifying the mistakes that made you do away with the first grass turf in the first place.
Can you install sod yourself?
By paying attention to the simple steps and tips that we discussed in this article, laying sod can be done through the DIY approach.
But if you are not a very handy person or if you are the busy type, consider hiring a professional landscaper because you will be required to roll up your sleeves and brace your muscles.
Hiring a landscaper can save you lots of time and effort because they do the job so easily and with lots of prowess.